


Understanding the Basics of Solar Panel Connections
When you’re ready to embrace renewable energy, connecting solar panels to your electrical branch is a pivotal first step. It’s not only a way to harness the sun’s power but also a chance to reduce your energy bills. But don’t worry; this isn’t rocket science—just some simple wiring and a dash of common sense!
Necessary Tools and Components
Before diving in, let’s assemble the essentials. You’ll need solar panels, appropriate wiring, a charge controller, an inverter, and, of course, a sunny disposition! Make sure to check local regulations regarding solar installations, and consider having a professional electrician review your plan to stay on the safe side.
The Connection Process: Step-by-Step
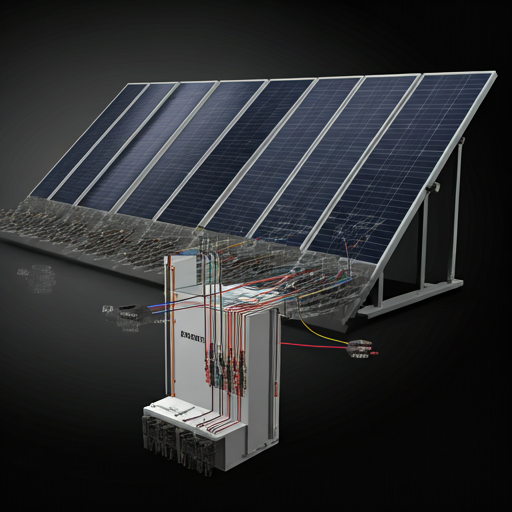
1. Turn Off Your Main Power: Safety first! Ensure the grid connection is off before starting. 2. Connect the Panels: Start by wiring your solar panels together, following the manufacturer’s instructions. Parallel connections work best in low-light conditions, while series configurations maximize voltage in bright sun. 3. Install a Charge Controller: This crucial component regulates voltage and current flowing from your solar panels to your battery. Without it, your batteries could overcharge. 4. Connect to the Inverter: Your inverter will transform the DC electricity from your solar panels into AC for home use. 5. Final Connections: Finally, connect your solar system to the branch circuit, and don’t forget to double-check the connections!
With your solar panels connected to the branch, enjoy the warm feeling of knowing you’re harnessing clean energy at home. Plus, you might just impress a few friends along the way!

اترك تعليقاً